This project was very satisfying to me because I had the chance to put so much of my creativity to use. It was fun to plan it out and to figure how to make it with what I had available to me. I hope you enjoy the photo essay!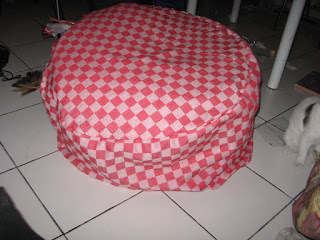 |
Pardon the mess the kids left on the living room floor...I had to kick the new owner off to snap a shot!
|
We bought a set of couches on the cheap when we moved to Torreon in Dec.
'08, but in time we discovered why they were cheap: the wood for the
frame was almost entirely recycled, probably from pallets, and the
stuffing was half recycled vinyl with foam. After it broke down beyond
repair, we eventually took it apart and salvaged anything
that might be re-purposed. (Did I tell you I'm Scotch and my grandmother
lived through the Great Depression?)
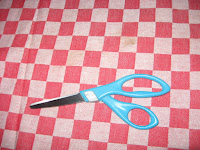 |
| On our latest trip to TX, March 2012, I found this red-checked fabric at
a thrift store, which I practically got for free with the coupon of 10%
off my total purchase. How's that for God's provision? So far, I've
only found one stain on the fabric, of which I used less than half for
the chair. |

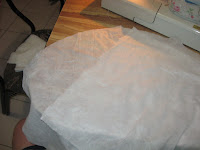
For the inner bag, I pulled out a full size bed skirt that I
won't use because my bed frame has drawers, and saw this is the same
fabric they use to make those cheap laundry bags, hanging closet sweater
or shoe bags, etc. My daughter Rebeca helped hold a piece of ribbon on
the edge of the folded fabric so I could draw a half circle on one
layer. In one cutting, I got two circles!
After preparing the inner side panels, I used the white fabric as a template to cut out the red check, but a bit larger. I must confess, I didn't measure anything, and just eyeballed the size of the circle and sides.
 |
| Cutting the side panels. |
 |
| Sewing the inner panel where I had to splice it to get the length needed. |
|
 |
| Now to attach the circle to the rectangle. |
 |
| Hurrah! It's coming together! |
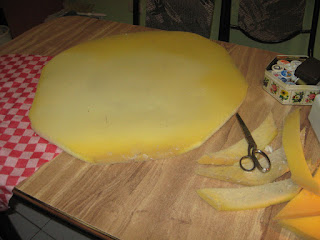 |
| This foam for the top of the chair also comes from the couch. |
 |
| Getting the foam in the right spot was harder than I expected. I had to trim it down and fold it in fourths to accomplish my goal. |
 |
| Looks like a big pizza! |
 |
| Filling from the couch...I don't know what this stuff is, but it is squishy, although it was mixed with sawdust or something of the sort. Whatever, if we sat on it before, why not again? |
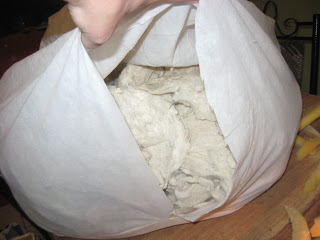 |
| Here I ran out of the nicer filler, about half-way full. |
 |
| Can you believe this was in my couch? Obviously the laws of California do not apply here. You know the label: Made with 100% new material. |
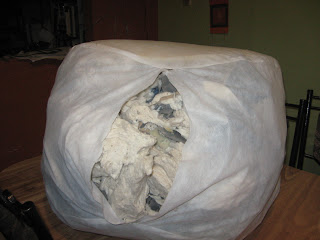 |
| I jammed it pretty full, anticipating it to all settle with use. |
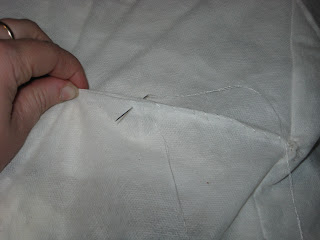 |
| Hand-stitching the side panel. |
 |
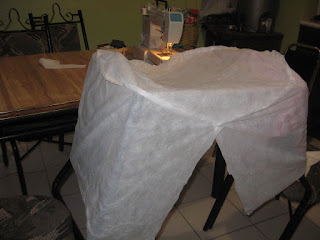
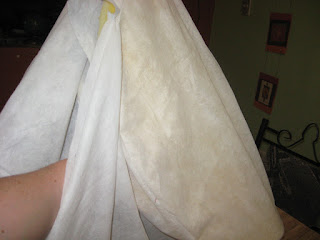
| I draped the fabric to reassure myself that indeed it would work. |
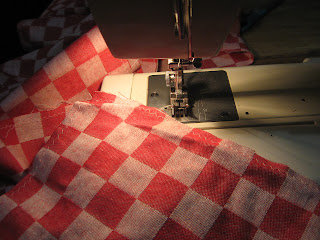 |
| To prevent disaster by unraveling, I zig-zag stitched all the raw edges. Yes, I went through a LOT of thread! |
 |
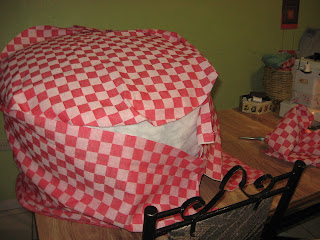
| In spite of measuring, I ended up needing additional material to attach to the top and bottom circles. The side closes with Velcro I had left over from another project. To get the cover on, I had to rip the bottom and add a triangle piece open on one side. I ought to add more Velcro, but that may wait until its first washing! |
|
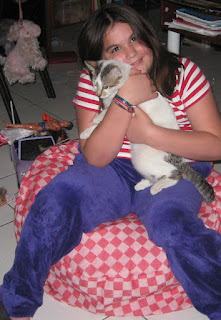 |
| The happy owner with her kitty, Patches. |
Well, there you have it, folks! I feel good about the chair; as I said to Rebeca, "Not bad for not knowing what I'm doing." Thanks, Mom, for teaching me to sew by example and by letting me have a turn with your old
Vigorelli machine! Hopefully, we'll soon have yet another generation of girls designing and producing their own projects.

 For the inner bag, I pulled out a full size bed skirt that I
won't use because my bed frame has drawers, and saw this is the same
fabric they use to make those cheap laundry bags, hanging closet sweater
or shoe bags, etc. My daughter Rebeca helped hold a piece of ribbon on
the edge of the folded fabric so I could draw a half circle on one
layer. In one cutting, I got two circles!
For the inner bag, I pulled out a full size bed skirt that I
won't use because my bed frame has drawers, and saw this is the same
fabric they use to make those cheap laundry bags, hanging closet sweater
or shoe bags, etc. My daughter Rebeca helped hold a piece of ribbon on
the edge of the folded fabric so I could draw a half circle on one
layer. In one cutting, I got two circles!


What a blessing to have a mother who taught you so well.....
ReplyDelete